This original post from October 12, 2014 was one of my super early ones. I am working on rebaking/making/trying all these recipes again and taking new photos for them. These carrot, cheese and chive muffins desperately needed new photos and are a crowd pleaser.
Here's the original carrot cheese and chive muffin post: We're going on a plane soon. What was I thinking? It's a long flight and I'm thinking about things I could make and pack for the flight. Kind of lunch boxy things...but I don't want a lot of mess and I'm not making it all on the day we leave. For the kids I'm a chronic overpacker. For myself, not so much.
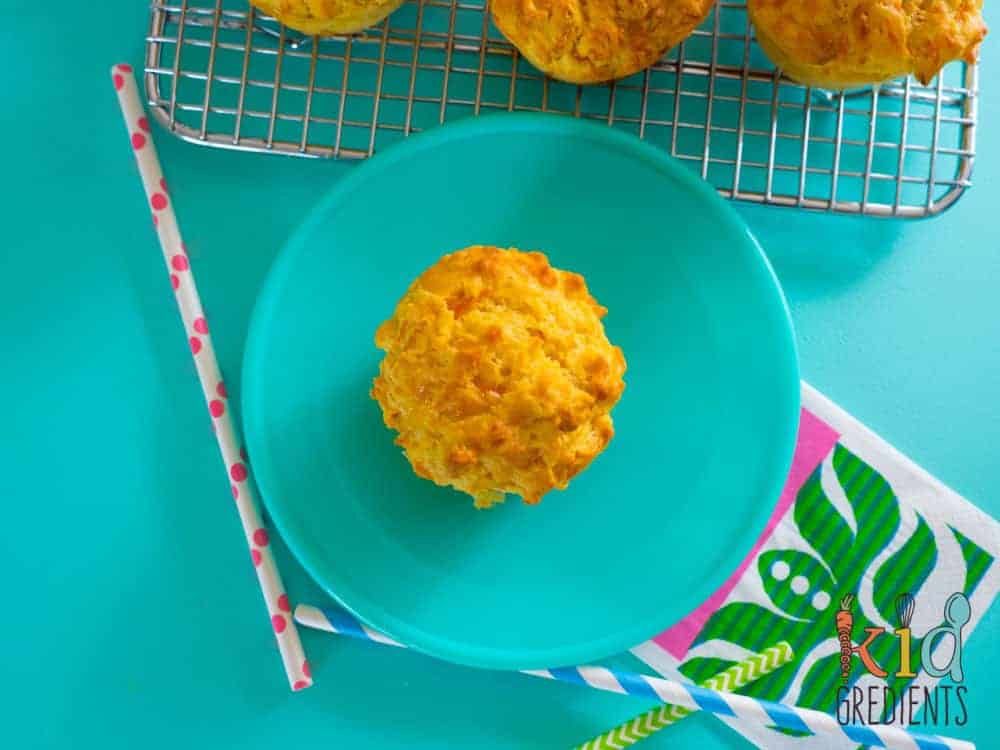
So I decided to play with a muffin recipe I've been using for a while and include one of Mr J's favourite vegetables. Carrot. Now carrot in muffins for me conjures up a nice sweet muffin...with walnuts and cream cheese...but I'm messing with your head a bit here with a savoury cheese and carrot muffin that is lunchbox ready!
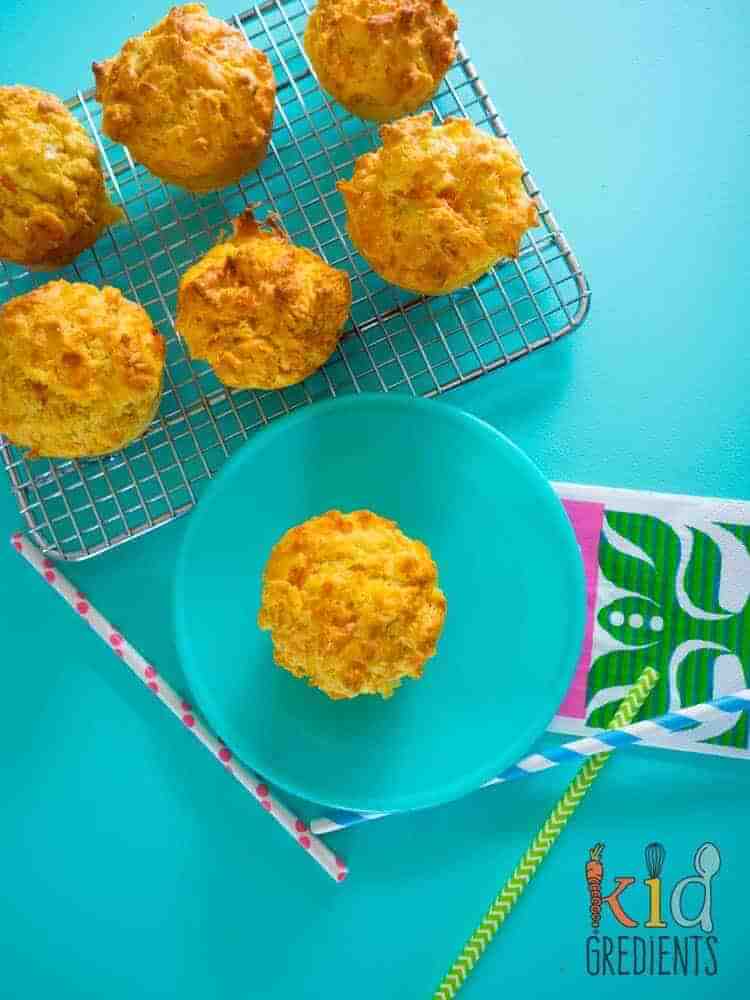
They freeze well, are sturdy enough to cope with a few lunchbox knocks and they taste great warm with a slathering of butter. Both kids loved and devoured these, they went back for seconds...which can only mean one thing: they are yum. If your child isn't a carrot fan, switch the carrot for zucchini or something else that tickles their fancy.
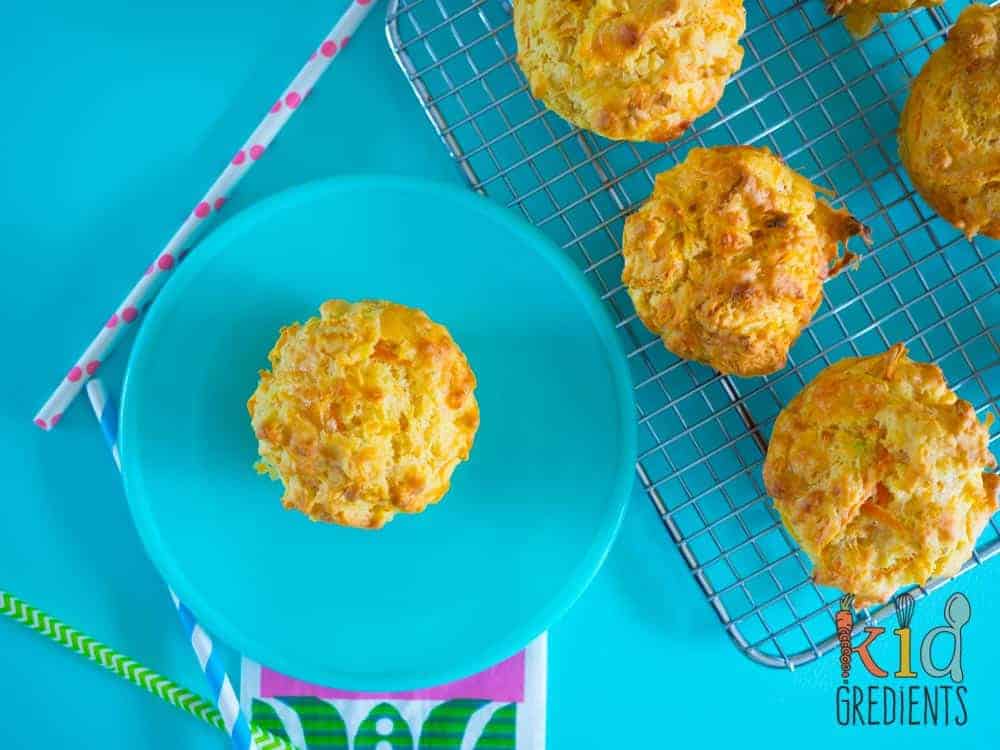
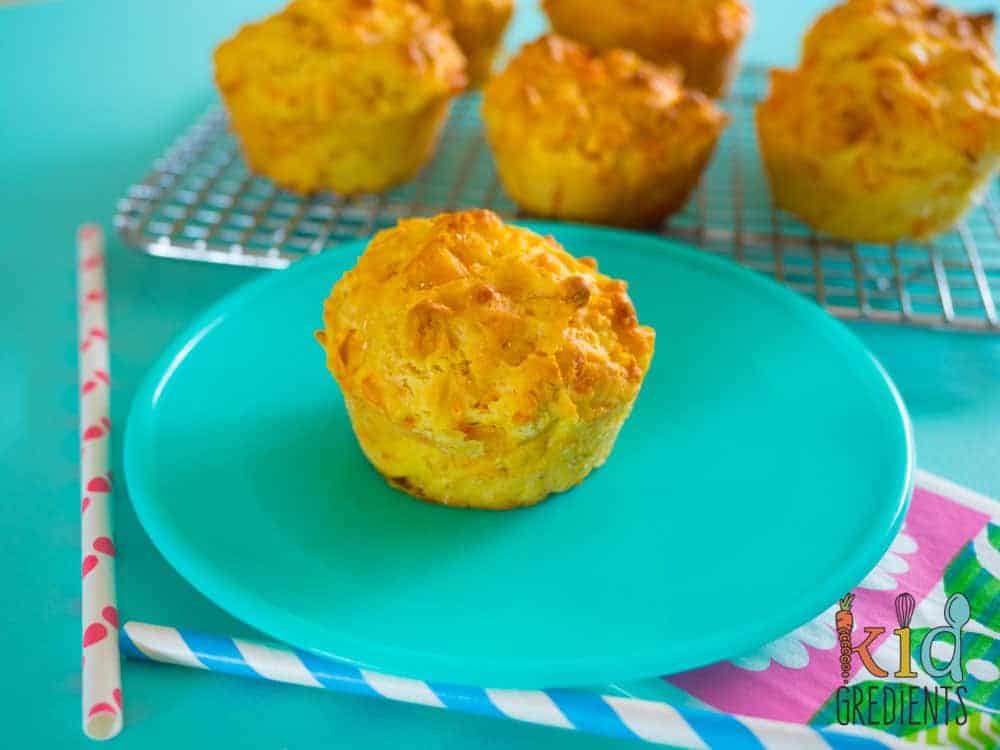
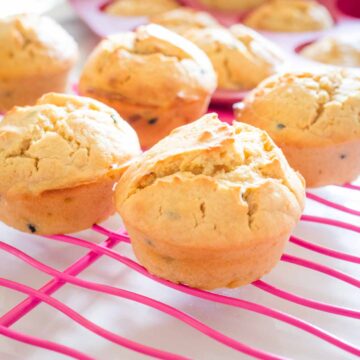
I baked these "naked" or in a silicon tray, but if you are using a metal one, you will need to either line the cupcake holes or grease and flour as they are sticky when they go in. The cheese in these makes them more golden before they are done, so test with a skewer for doneness rather than going by the colour.
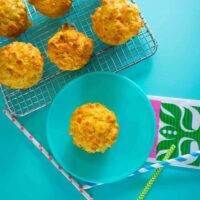
Carrot, cheese and chive muffins
Ingredients
- 1 carrot grated
- 1 cup grated cheese I used a mix of cheddar and mozzarella
- 1 tablespoon chives chopped
- 2 cups self raising flour
- 1 egg
- 1 cup of milk
- 40 grams butter melted
Instructions
- Preheat the oven to 180 degrees
- In a mixing jug combine the egg, butter and milk-whisk until well combined.
- Add the wet ingredients to all the dry ingredients and mix until combined.
- As with most muffins these are best undermixed rather than over.
- If you are using a silicone muffin pan or greasing one, add directly to the tray, otherwise use patty liners.
- Spread mix evenly, then tap sharply on the bench. Allow to settle for 2 mins.
- Bake at 180 degrees for 15-20 minutes or until golden and a skewer inserted in the middle comes out clean.
- Rest in the pan for 5 minutes then put on a wire rack to cool.
- Eat cold, warm or freeze!
Lisa says
Just made these with my 3 yr old, just simple enough to keep her concentration and yummy enough for us both to eat! Thanks
Dani says
I just made these for the first time with my girls and wow- YUM! The first batch is almost gone already! We are going to bake up some more for the lunchbox ready freezer stash. Thank you for the yummy recipe!
Kylie says
That's fantastic to hear! Glad you're enjoying them!
billy arton says
amazing food love it