The Cricut Air Explore 2 used to create the labels in this post and the OXO containers were gifted to me for the purpose of this blog post.
Well, I've been organising my pantry since the beginning of the year. Actually probably since this time last year...but it hasn't gotten properly done until now. Part of the issue has been labelling, part of the issue has been the tiny space I have to work with. But there are two things that have saved the day: my Cricut Explore Air 2 and the OXO containers I have used.
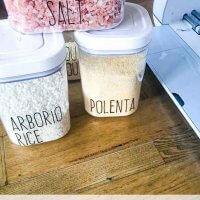
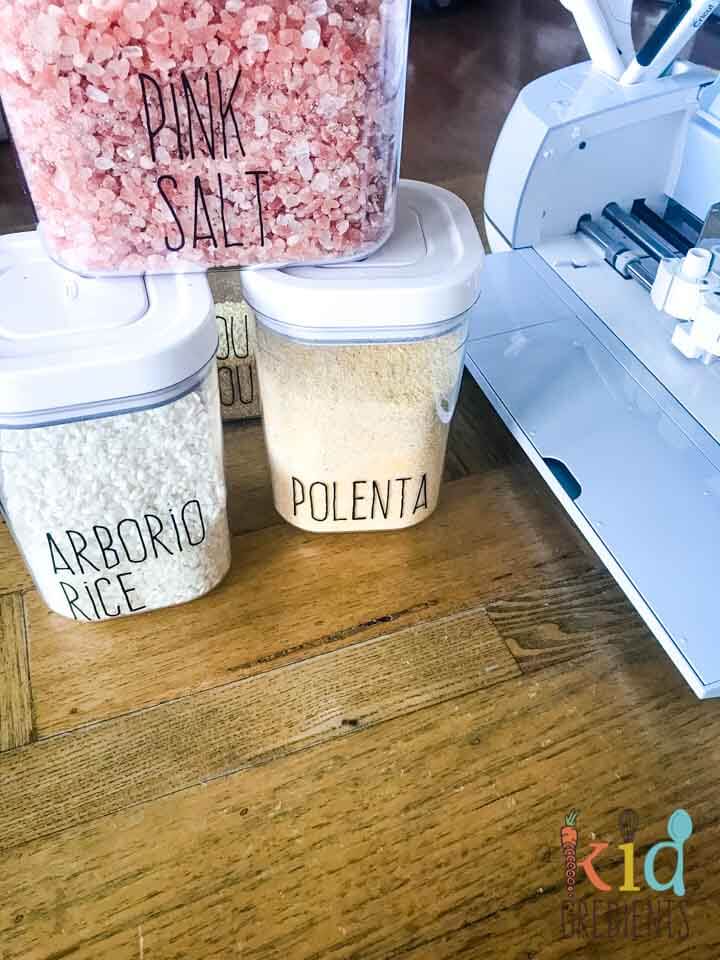
Let's talk first about the containers. I've been battling pantry moths for years. How have I stopped them? OXO Pop 2.0 containers. They don't come cheap- I know that because I have bought multiple sets for myself before OXO Australia were kind enough to gift me some! They are the best. Completely airtight and MODULAR! Which means even in a tiny pantry like mine you can stack them and fit them in well.
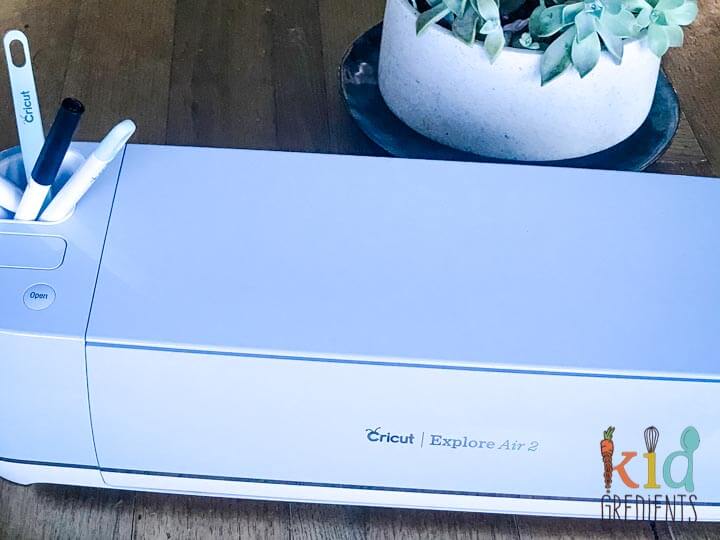
But what on earth is a Cricut Explore Air 2 I hear you ask...well. It's my new best friend. I knew I wanted to make over my pantry and tried the kmart chalkboard labels, but they just didn't give me the look I was looking for. I wanted gorgeous labels. And that's where the Cricut comes in.
I can't begin to think about how much I have spent on labels since I had my kids. Labels for drink bottles, labels for jumpers, for containers around the house...for everything! And that's where the Cricut has been a game changer. Design what you want, add the materials and it cuts it all for using. It uses the KISS method of cutting, which means that the machine only cuts through the vinyl, not the liner.
This is a beginner (because I'm a newbie) tutorial and it is so easy to do! I have always loved labelling stuff...it just makes everything feel so much more organised.
You can get my design files here: pantry labels, spice labels
Want more cricut crafts?
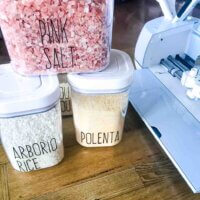
DIY pretty pantry and spice labels
Equipment
Ingredients
- Containers
- Black vinyl
- Transfer tape
Instructions
- Design your labels on your laptop/ mobile device or use the ones I have created- pantry labels, spice labels.
- Connect to your Cricut Explore Air
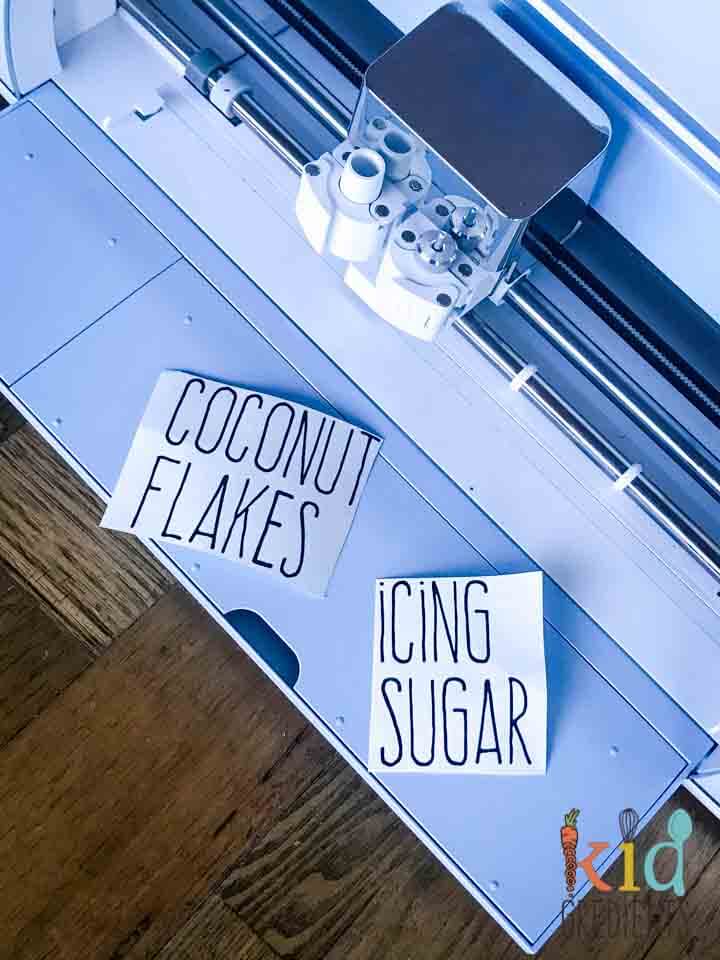
- Place the vinyl right side up on the strong grip mat.
- Select Vinyl on the dial of the Cricut.
- Load the mat into the Explore Air 2.
[mv_img id="14908"]
- Press the Cricut button.
- Sit back and relax as all the work of cutting the labels is done for you.
- Remove the mat from your machine.
- Cut into individual labels with scissors.
- Weed out the excess vinyl, being super careful with things like dots on the "i's" and remembering to remove things like the inside of "O's".
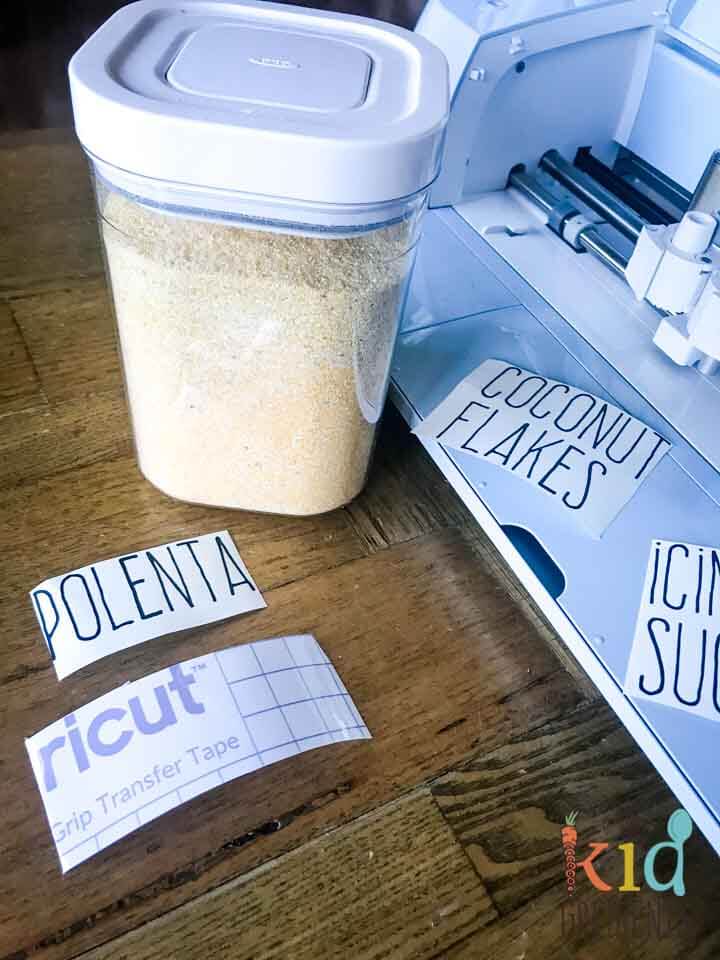
[mv_img id="14909"] - Cut transfer tape to the size of your biggest label.
- Place this over your weeded label and burnish.
- Remove the backing paper.
- Line up the label on your container.
- Burnish against the container.
- Remove the transfer tape and sit back and admire your handy work!

Notes
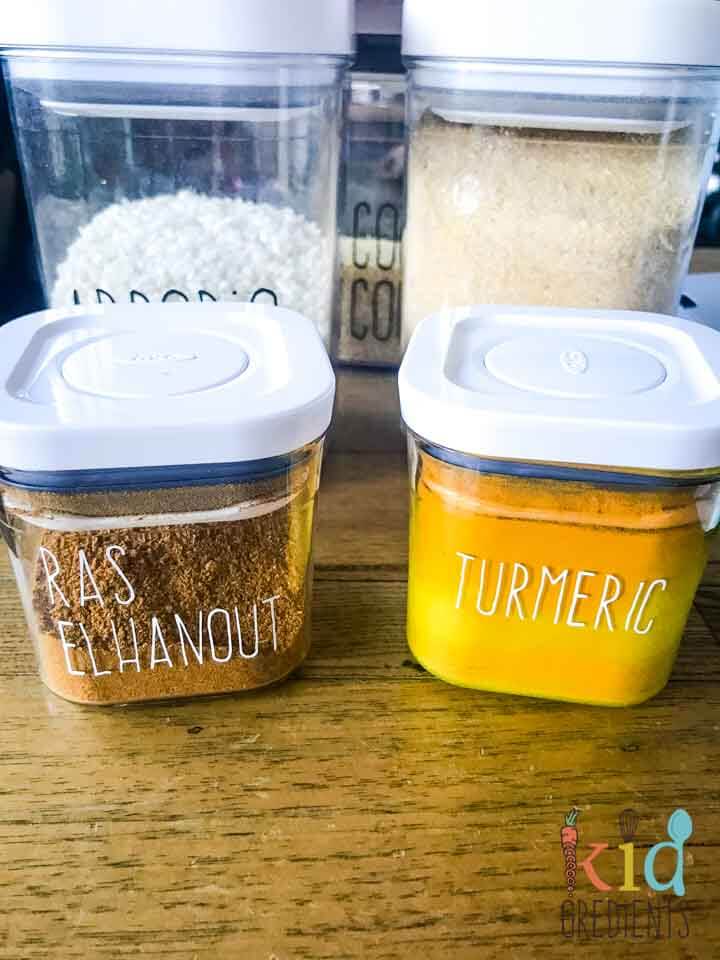
To make the spice labels I used white vinyl. Link to projects in Cricut design space:
pantry labels
spice labels.


Leave a Reply