This post about Personalised kids parties is sponsored by Cricut who sent me a Cricut Explore Air 2.
When it comes to kids parties it's often hard to find the things that you need for it. I found with my Cricut explore Air 2 I've been able to make everything I need for a kids party regardless of theme they choose. It's meant that I don't need to spend time going "no I think you'd really like to have a fairy party" when my kids says "I want to have a ninja party".
Here's how to make some really simple invites. So first things first you need to decide what images you want to use and create your design I love using design space to do this and I try to make sure that my invites are as simple as possible but they don't take excessive amounts of time to create.
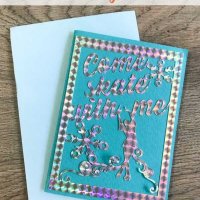
I've created an ice skating party invite in my design space that I'll link below that you can use for an ice skating party. Making these invitations out of different types of card stock means that you don't need to put too much effort into decoration as the Cricut does most of the work for you.
The hardest part about making the invites was actually printing out the internal sheets. I recommend to save time and energy print those on your printer you can cut them in with your Cricut. As it's much easier to print them with your printer rather than get your Cricut to write them.
I made the design out of multiple design elements are available to me in Cricut access. I joined them together and created the front sheet which I then attached to the card which I also cut in my with my Cricut. You could make this card with any design elements that you'd like obviously this is for an ice skating party so it was important than had an ice skater on it and it looked kind of snowy .
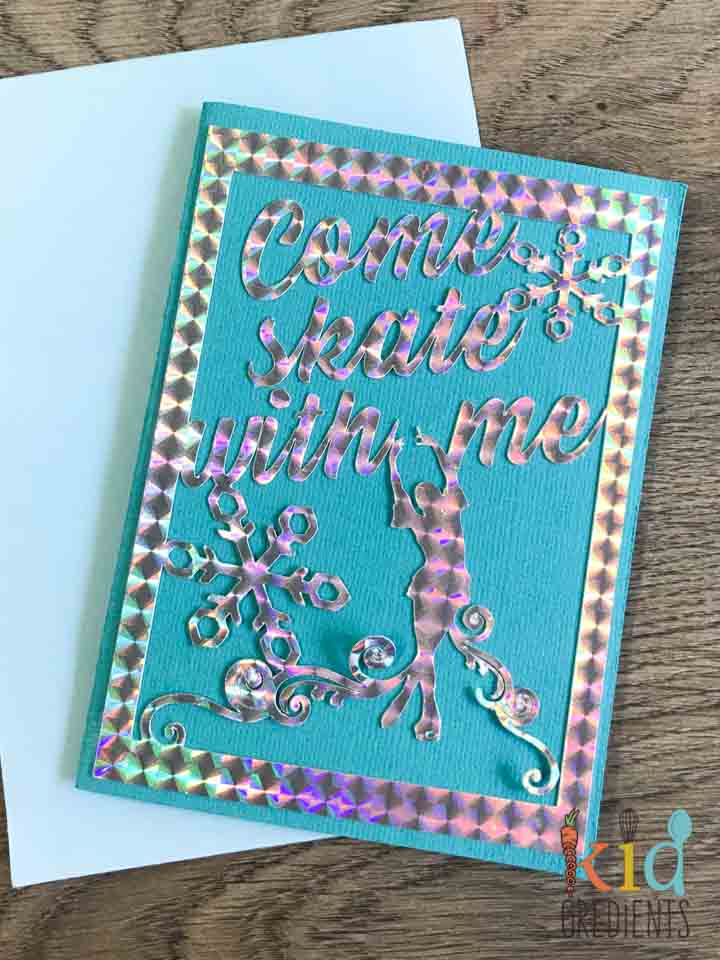
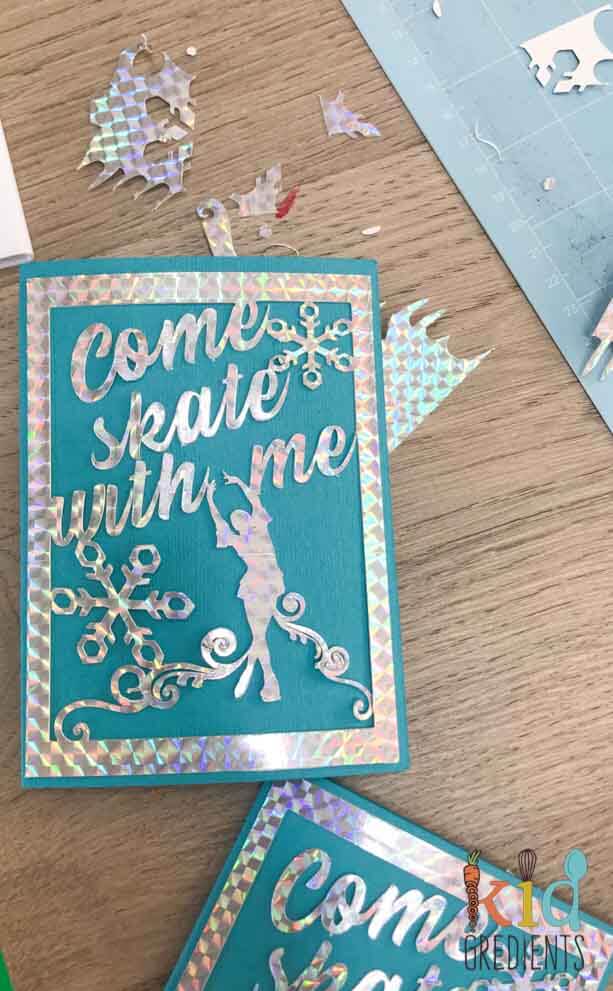
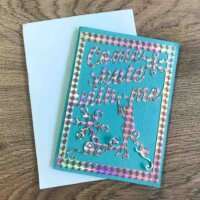
I cut the front sheet out of metallic cardstock that I bought at Kmart. It was simple to cut and it was really easy to weed as all I did was put off the sheet from the mat and it came apart in one piece, leaving most of the smaller pieces behind on the mat. I have to be honest I used to standard mat to cut these. The reason for that was it needed to be extra sticky due to the metallic card.
I made the piece that I cut from the metallic card just slightly smaller than the actual card shape so it was easy to align on the front of the card and attach. I used the Bostik wide and narrow glue stick because I like the wet glue for attaching card stock to card stock- it just helps because it sticks well.
As the actual card is made separately to the metallic front you can use whatever background colour you want for the card stock... in fact, you don't really have to worry if they're all different colours the metallic looks awesome on all different colours.
I didn't make my own envelope to this project because it was just another step. I found if I cut them small enough they fit in standard envelopes that you can buy at the shops. That meant that there was a lot less time spent by me creating them.
Now some hot tips: make sure you do a test run on the card to make sure that it cuts properly.
Use large butterfly clips to keep the metallic card stuck to the card stock when it's drying.
Give the glue a good bit of time to cure otherwise you might find that the metallic card doesn't stick as well as you would like to the card stock.
Ice skating invitations
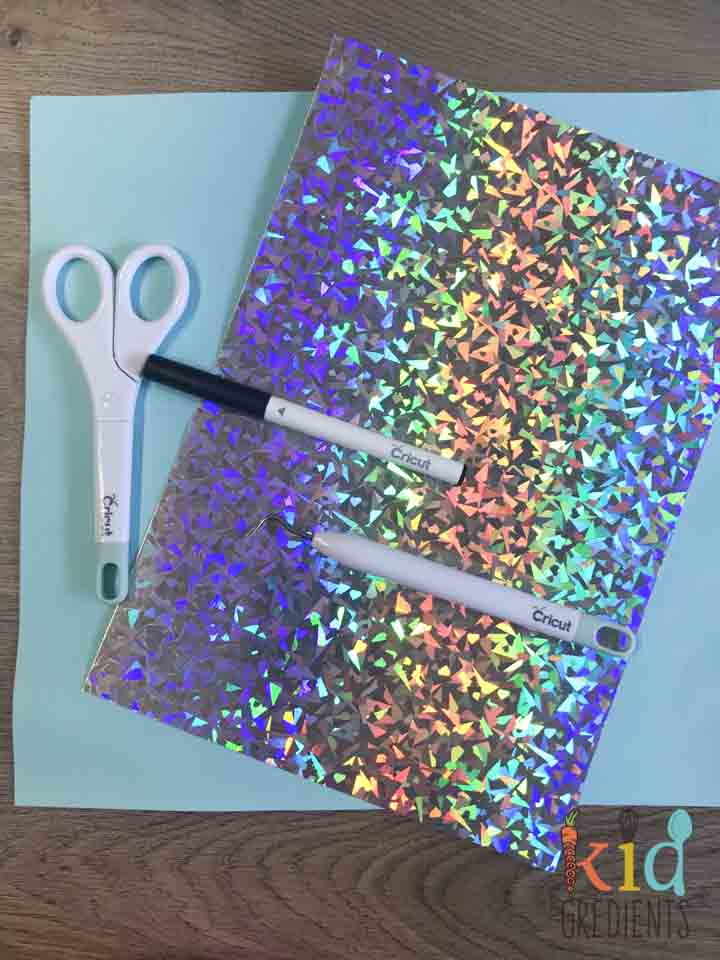
Equipment
Ingredients
- 5 sheets 30x30cm cardstock in the colour of your choice.
- 5 A4 sheets metallic card
- 5 sheets paper of your choice
- envelopes
- glue
Instructions
- First customize the interior to have the correct information.
- Set up your light grip mat with the cardstock and cut that.
- Cut the metallic cardstock.
- Weed it.
- Draw then cut the interior sheets.
- Glue the metallic cut out to the front of the card.
- Secure with bulldog clips until dry.
- Attach the paper interior to the inside of the card with glue.


Leave a Reply