
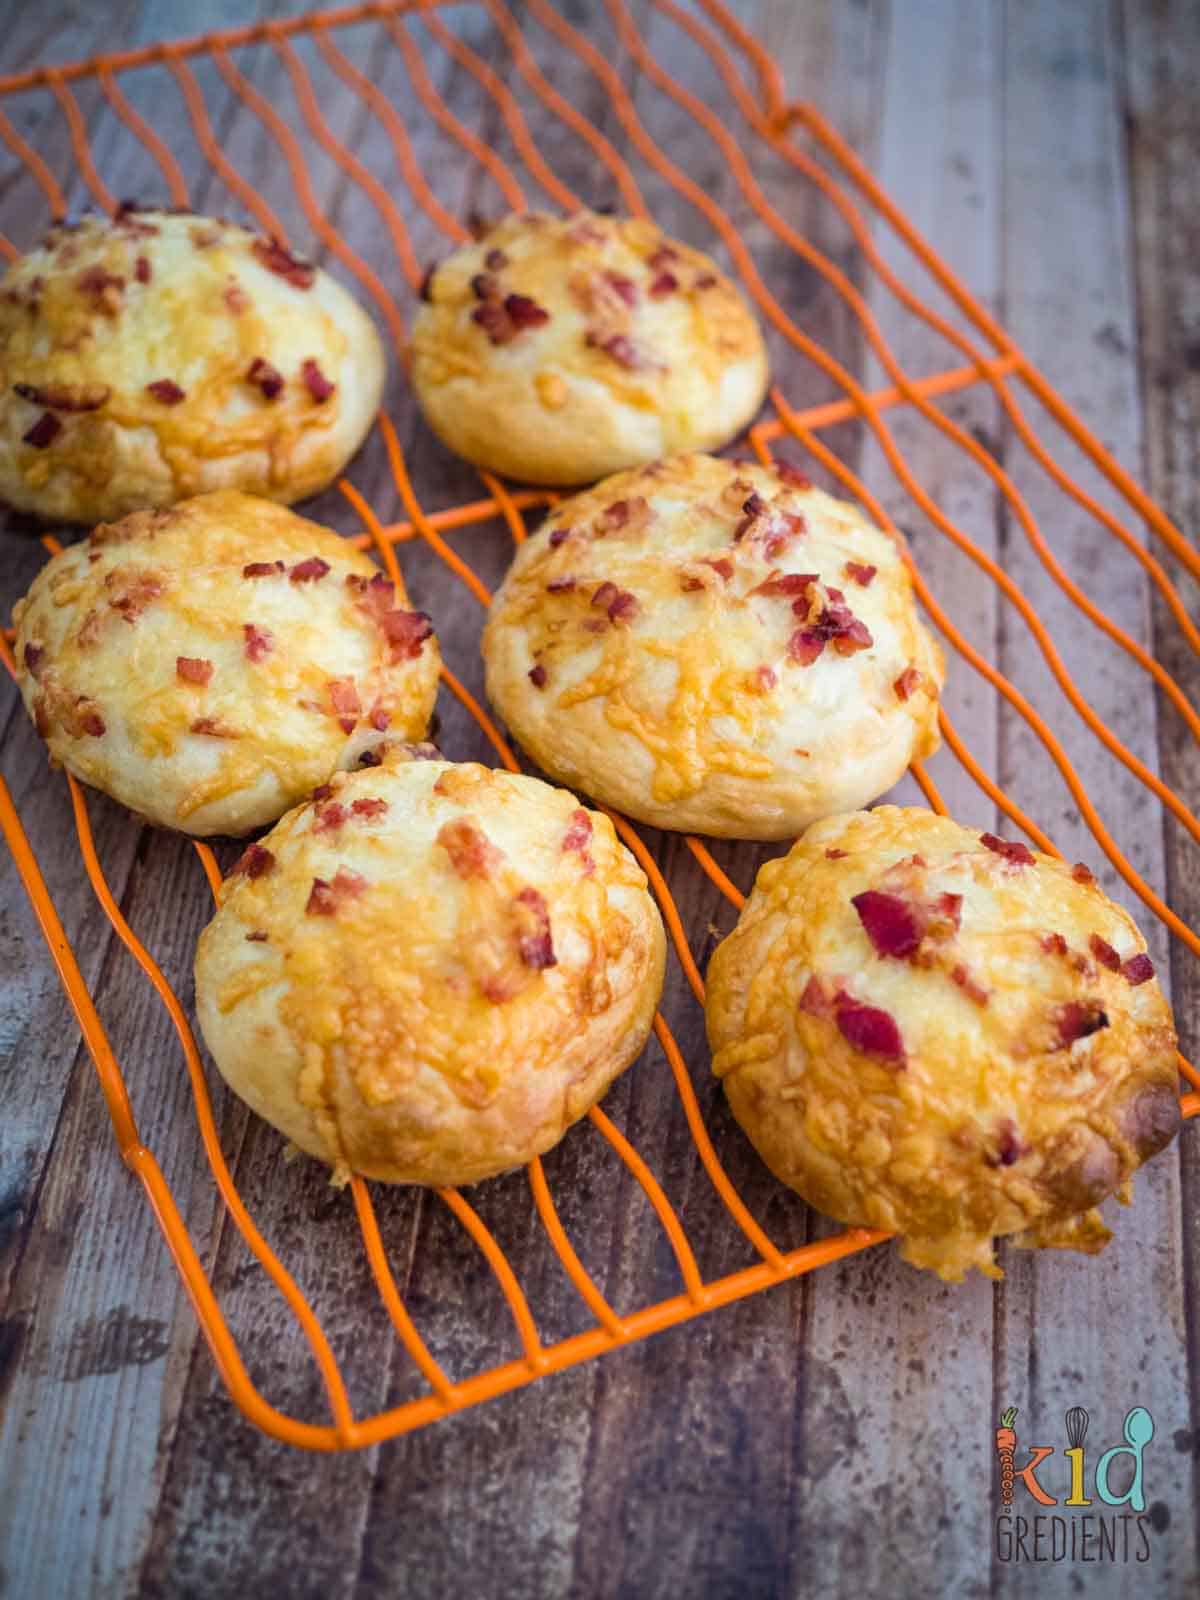
Cheese and bacon rolls are a kid favourite. Perfect for easy lunches, and grab and go picnics, this version contains no nasties and is an easy introduction to making yeasted bread. Great for impressing the kids with your baking skills, and freezer friendly, this recipe will quickly become your go-to for school lunches, as they are cheaper than storebought and taste better too!
Why you're going to love this recipe
These are super easy to make, and this recipe makes 12!! They freeze and defrost well and they are just the right size for the lunchbox. Not only that, but you know when you make them yourselves they contain no nasties.
- great for making with kids
- kid friendly
- lunchbox friendly
- easy to make
- mixer friendly
- taste better than storebought
- perfect size for the lunchbox
What goes into the recipe
don't forget to scroll to the recipe for ingredient amounts and full method
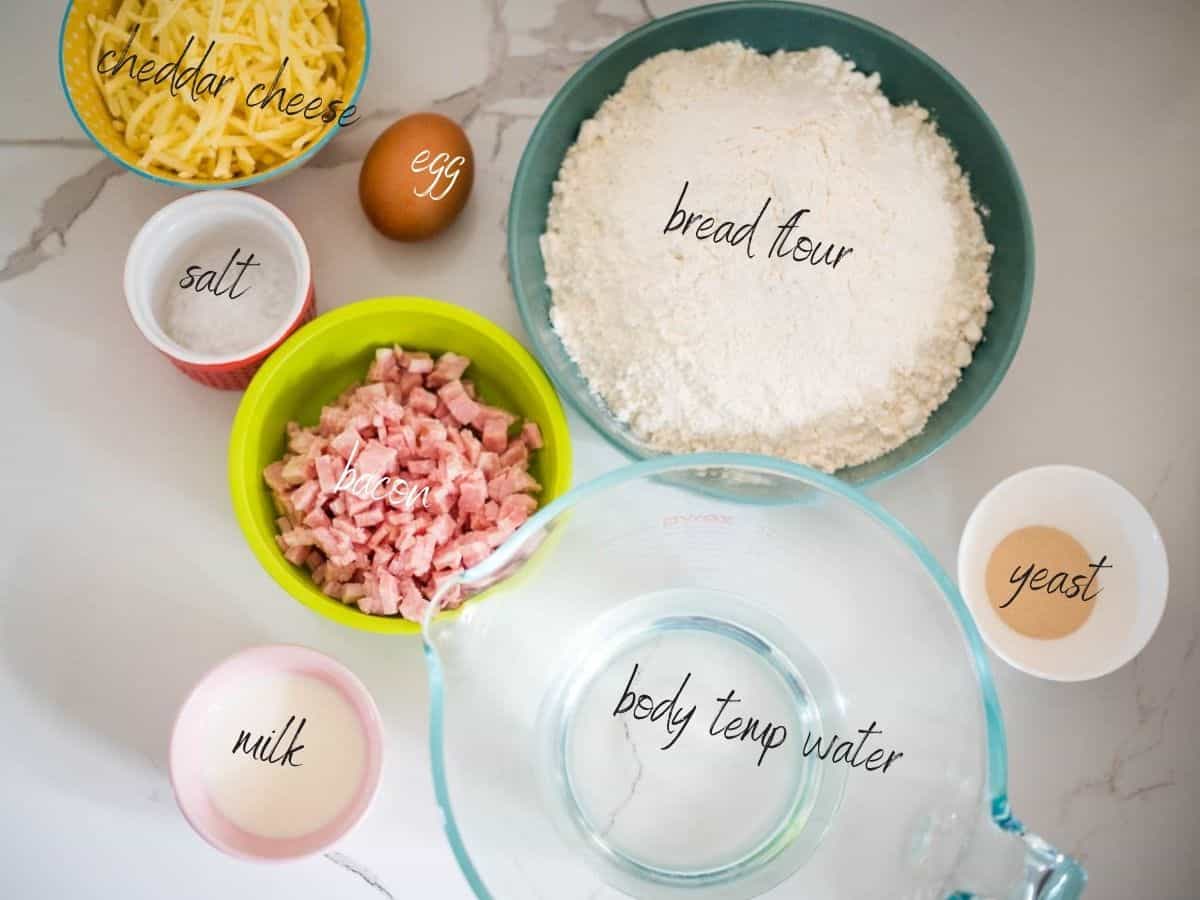
- dry yeast- the lowan brand works well, but any is fine really, just make sure it is in date! If you've stored it in the refrigerator, it may need to sit out a little before it will activate when added to the water. If your yeast doesn't activate read my tips in the FAQs. We make a lot of our bread like this Chia Seed Bread or these yummy No knead chia seed wholemeal rolls.
- bread flour- I use this as the higher protein level in bread flour means these are fluffier and easier to work.
- bacon- you can either buy bacon bits from the supermarket or cut up rashers(slices bacon), either way it will be fine!
- cheese- these are made with cheddar cheese because it melts well and has a nice consistency on top. I like it to crust a bit when baked, and that happens with cheddar, colby and tasty cheese. Bacon and cheese rolls are normally made with tasty cheese in the bakery.
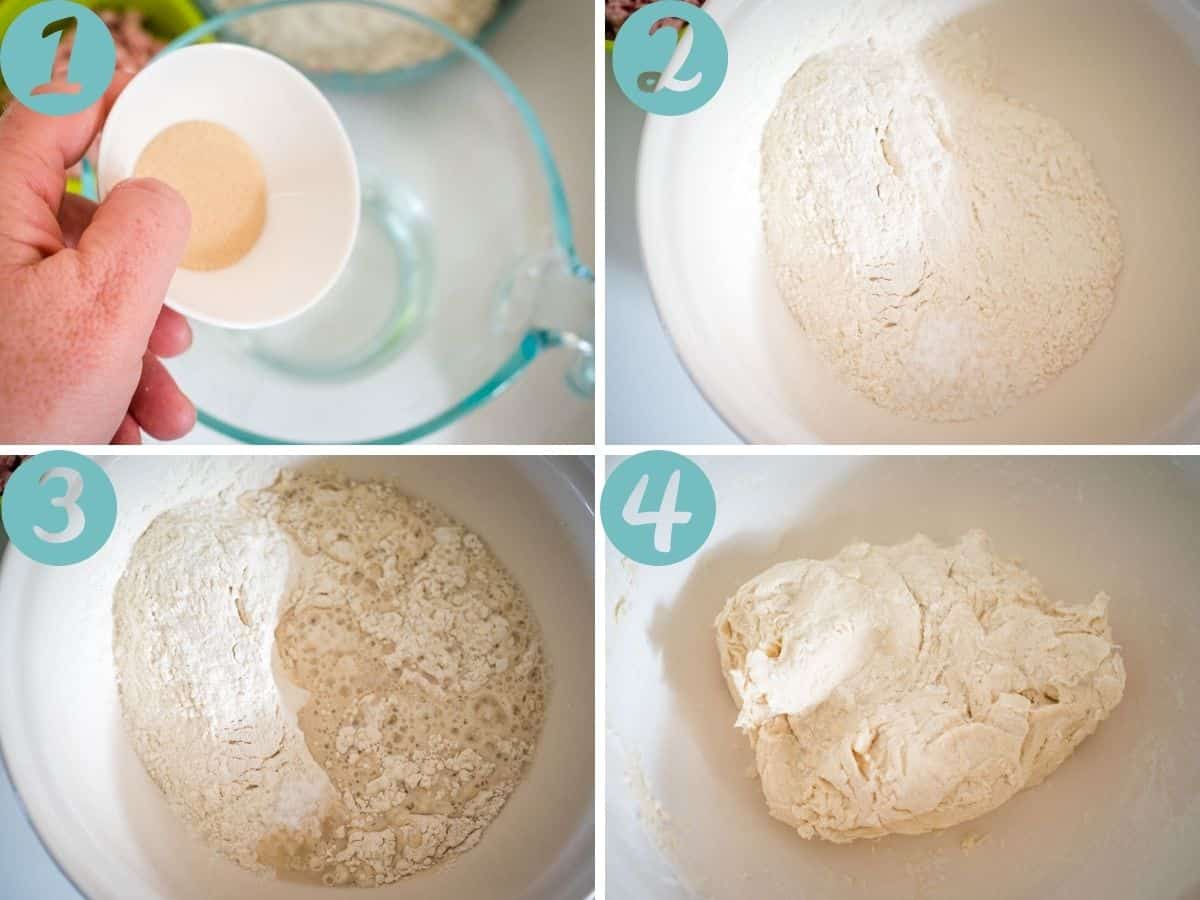
How to make this recipe
don't forget to scroll to the recipe for ingredient amounts and full method
- Add the yeast to the water and whisk. Allow to sit until frothy
(about 5 minutes). (Image 1) - Add the salt to the flour. (Image 2)
- Add the yeast and water mixture to the flour (Image 3)
- Mix to make a shaggy dough. (Image 4)
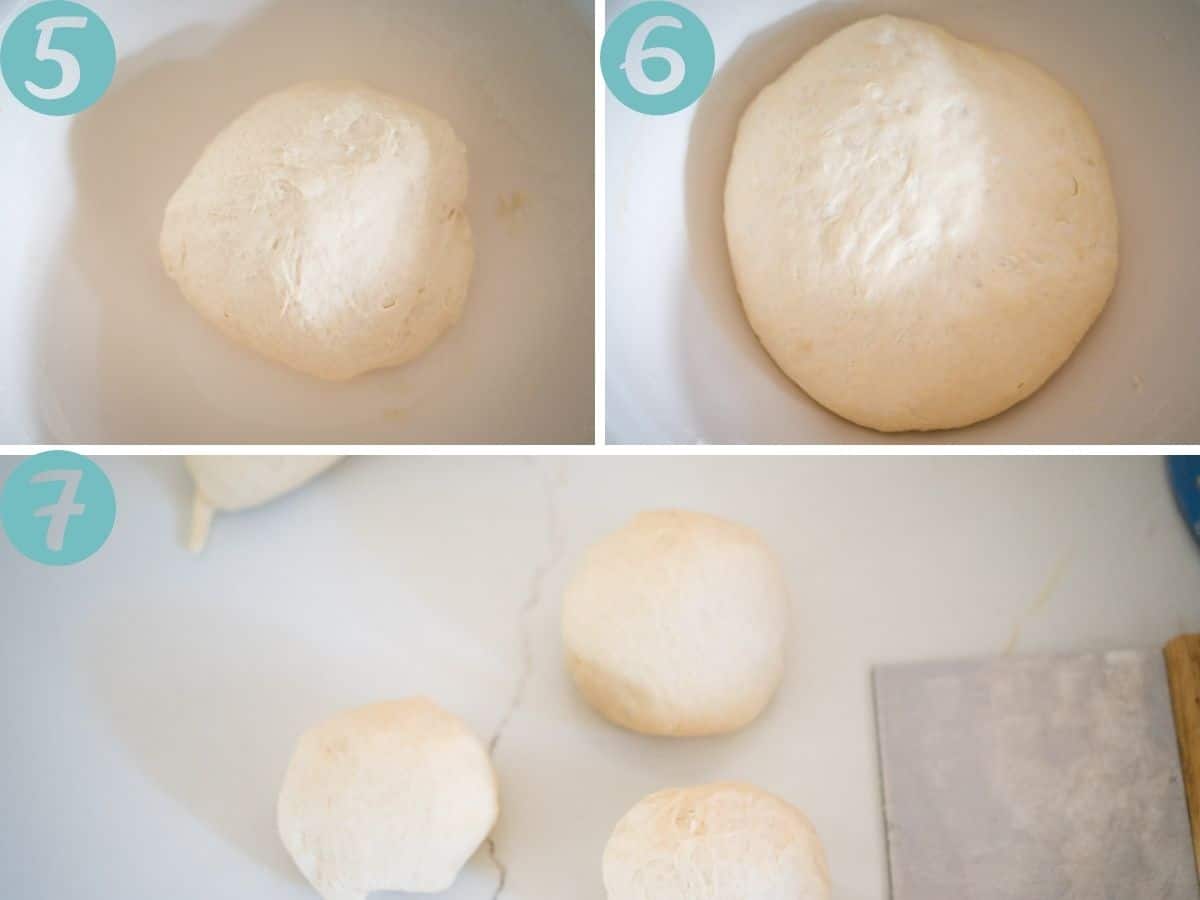
- Turn out onto a lightly floured surface and knead until smooth and elastic (About 5 minutes). (Image 5)
- Leave to rise for 1 hour or until doubled in size. Check out my helpful hints for how to ensure it rises in the FAQs. (Image 6)
- Divide the dough into 12 rolls, and shaped to make them round. (Image 7)
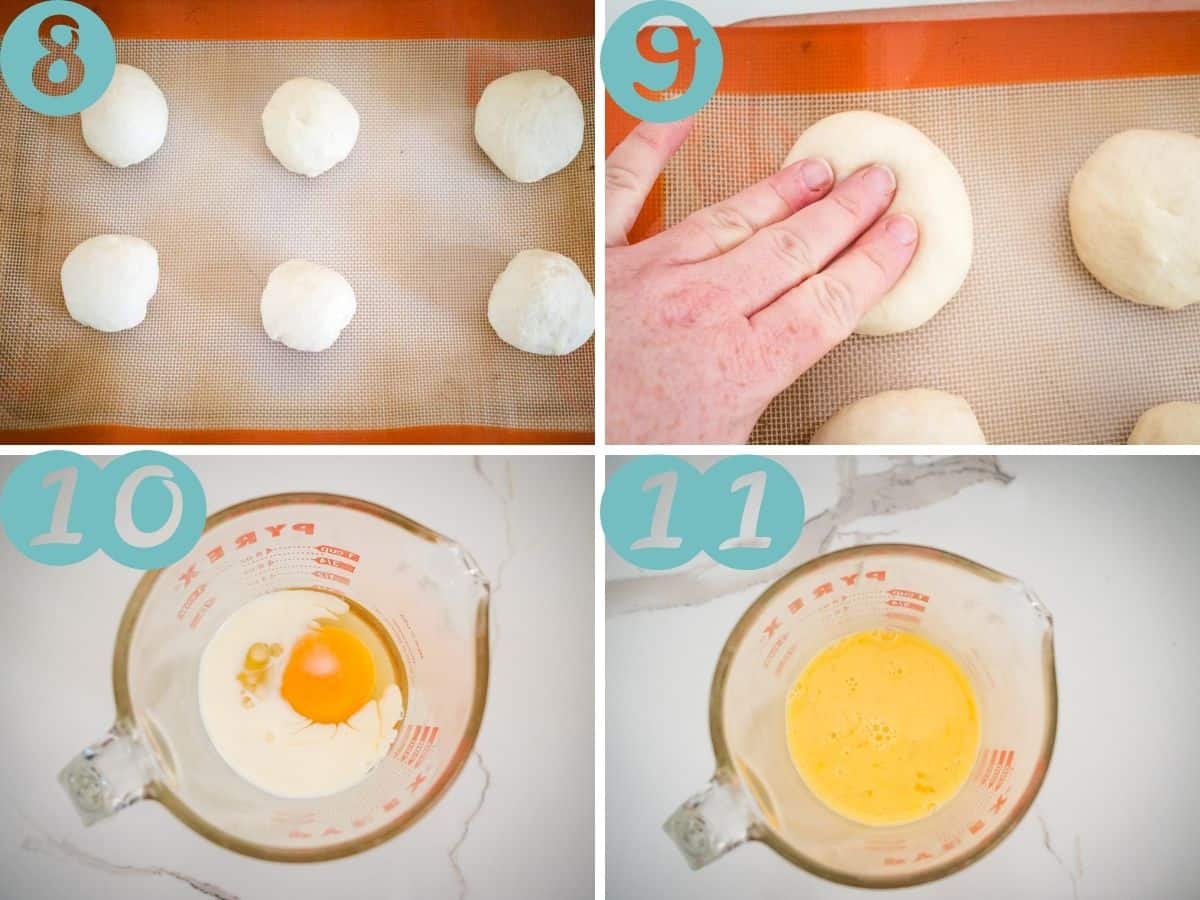
- Place the rolls on a lined baking tray and allow to rise for ½ hour. Preheat your oven to 240 degrees celsius (465F). (Image 8)
- Press down lightly (Image 9)
- Combine the egg and milk and whisk well. (Images 10 and 11)
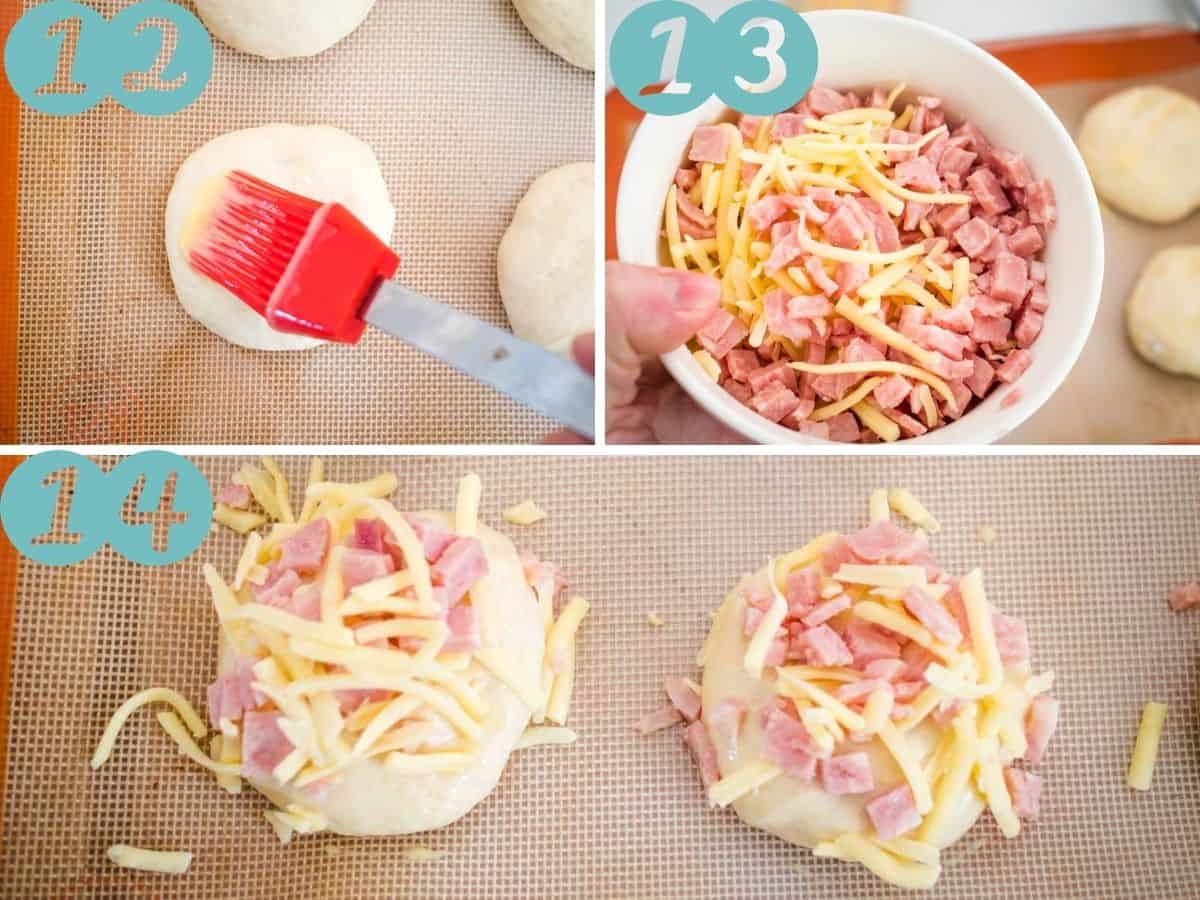
- Brush the rolls with the egg and milk mix (Image 12).
- Combine the bacon and cheese. (Image 13)
- Top the rolls with the cheese and bacon mix and bake for twenty minutes (turn the oven down to 200 degrees celsius 392F when you put them in). (Image 14)
Expert Tips and FAQs
There is no need to cook the bacon for on top, it gets cooked in the process. You chop it small enough that it gets cooked through!
If the yeast doesn't froth when added to the water, your yeast might not be active anymore. If that is the case, all you can really do is buy more yeast! If it was stored in the fridge, it may need a little time in body temp water to activate it again. Give it five minutes, then ditch and grab some more!
It's so simple! Just pop them on a tray in the freezer until solid, then transfer to a container.
I really enjoy bread rising and the best time of year for it is in summer. But if it's winter and you want to make these, I recommend placing the dough in a bowl, then place a larger bowl around the outside and fill with 30-degree (celsius) water and cover with a towel. It really helps with the rising process.

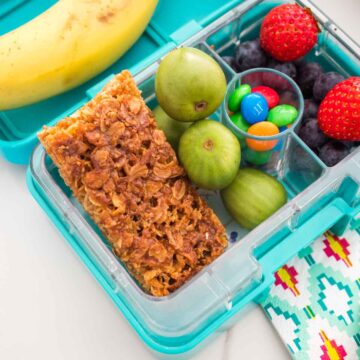
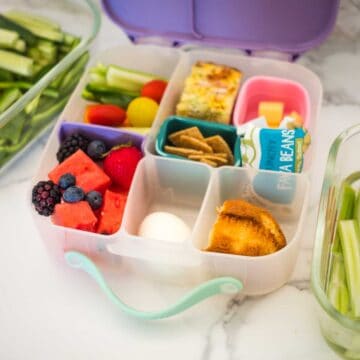
More easy lunchbox ideas


Why don't you subscribe to my newsletter, or follow along on Facebook and Instagram? If you make something from the blog please tag @kidgredients on instagram- it really makes my day to see what you've been making!

Cheese and Bacon Rolls, just like bakery ones!
Ingredients
- 500 g strong white bread flour
- 300 ml water body temp
- 5 g fresh yeast
- 8 g salt
- 1 egg lightly whisked
- 1 tablespoon milk
- 1 cup grated cheese
- 3 rashers bacon finely chopped
Instructions
- Combine the yeast and water together and allow to froth for a minute.
- Add the flour, salt and yeast/water combo to a large bowl and mix well to combine.
- Take the dough out of the bowl and knead for 5 minutes on a floured bench until a dough is formed.
- Place in a large bowl and cover with a damp towel for 1 hour.
- On a floured bench, knock back the dough. Roll into a large log and shape into 12 equal roll shapes.
- Line a tray with baking paper and put the rolls on it. Cover with a damp towel for 30 minutes.
- Preheat the oven to 240 degrees celsius.
- Squash the rolls down slightly. Whisk the egg and milk together and brush the tops of the buns.
- Combine the grated cheese and bacon and cover the tops of the buns.
- Lower the oven temp to 200 degrees celsius and place the buns in the oven for 20 minutes.
- Remove and place on a wire rack.
Magimix Cook Expert Method
- Add the flour, salt and yeast, water combo to the metal bowl and select. BREAD/ BRIOCHE programme. If it isn't well combined, run the same programme again.
- Place the dough in a large bowl and cover with a damp towel for 1 hour. (you can also prove in the magimix bowl- speed 0 temp 30)
- On a floured bench, knock back the dough. Roll into a large log and shape into 12 equal roll shapes.
- Line a tray with baking paper and put the rolls on it. Cover with a damp towel for 30 minutes.
- Preheat the oven to 240 degrees celsius.Squash the rolls down slightly.
- Whisk the egg and milk together and brush the tops of the buns.
- Combine the grated cheese and bacon and cover the tops of the buns.
- Lower the oven temp to 200 degrees celsius and place the buns in the oven for 20 minutes.Remove and place on a wire rack.
Notes
I really enjoy bread rising and the best time of year for it is in summer. But if it's winter and you want to make these, I recommend placing the dough in a bowl, then place a larger bowl around the outside and fill with 30-degree (celsius) water and cover with a towel. It really helps with the rising process. Cooking the bacon: There is no need to cook the bacon for on top, it gets cooked in the process. You chop it small enough that it gets cooked through!
Recipe video
Nutritional Information
- This post first appeared on kidgredients in february 2019. It has been fully rewritten, with updated photos, process shots and video in September 2021.


Leave a Reply